Soft Condensed Milk Bread Recipe
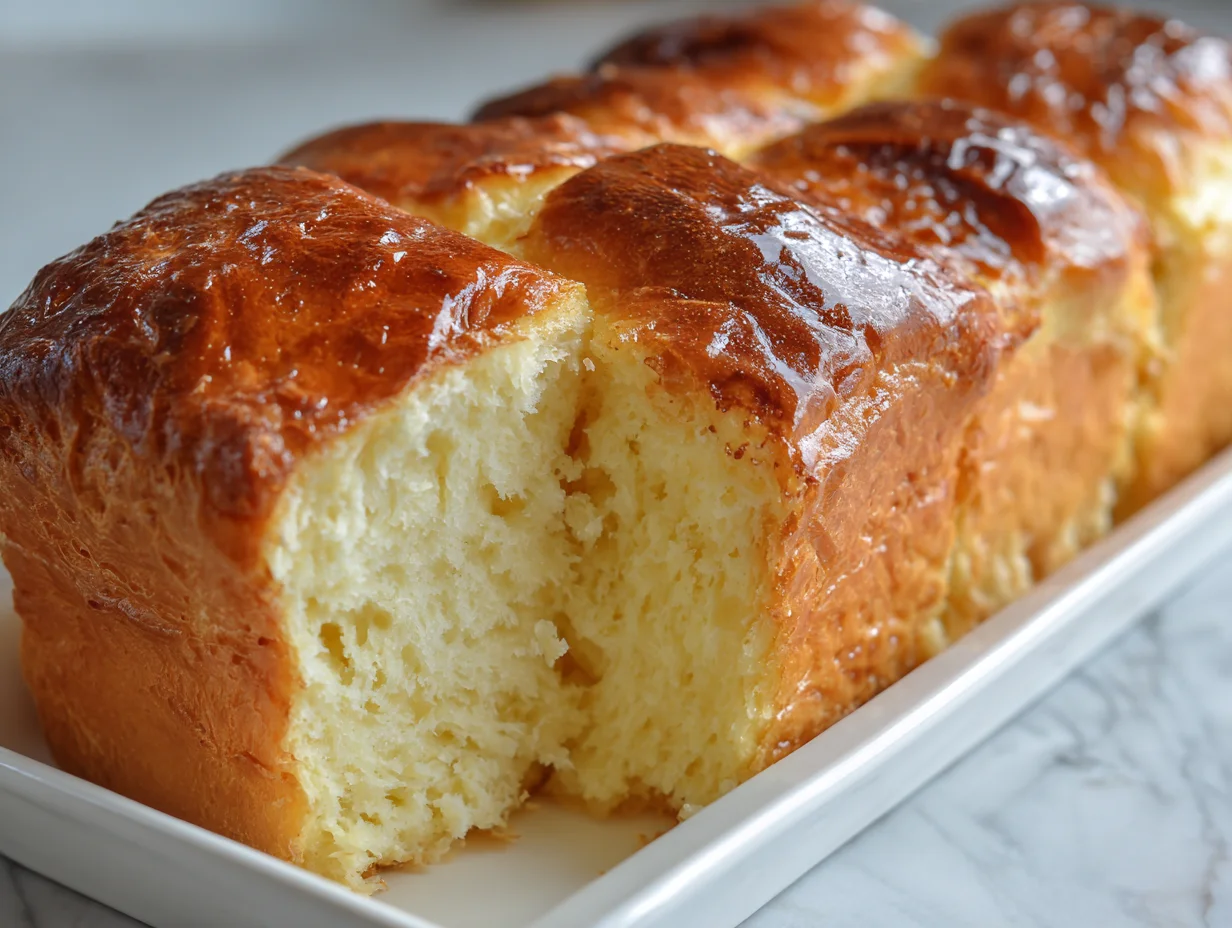
There are few things in baking as rewarding as achieving perfectly soft, cloud-like bread at home. Condensed milk bread stands out as a luxurious yet approachable recipe that delivers bakery-quality texture with a delicate sweetness. Its rich flavor, tender crumb, and golden crust make it a favorite for both beginners and seasoned bakers who seek consistent, high-end results without unnecessary complexity.
What makes this recipe exceptional is its balance. The sweetness from condensed milk enhances the dough without overpowering it, while careful technique ensures a light and airy structure. This is not just another bread recipe—it is a refined method developed to help you produce professional results in your own kitchen, every single time.
As an expert chef, I focus on precision, texture, and flavor harmony. This recipe is crafted to guide you step by step, ensuring your bread turns out soft, rich, and irresistibly fresh—just like the finest bakery loaves.
The Hidden Dough Handling Error That Ruins Softness
One of the most overlooked mistakes in condensed milk bread is improper dough hydration. Many bakers instinctively add extra flour when the dough feels sticky, assuming it is incorrect. In reality, this stickiness is essential for achieving a soft crumb. Over-flouring leads to dense, dry bread that lacks the signature pillowy texture expected from this recipe.
Another frequent issue is insufficient kneading. Without proper gluten development, the dough cannot trap air effectively during proofing. This results in bread that appears risen but lacks structure inside. Many underestimate how critical kneading is in enriched doughs like this one.
Temperature control is also often ignored. Using milk that is too hot can kill the yeast, while cold ingredients slow fermentation significantly. Both scenarios lead to poor rise and uneven texture, affecting the final outcome more than most realize.
Lastly, rushing the proofing process is a major mistake. Bread requires time to develop flavor and structure. Cutting proofing short results in tight crumbs and reduced softness, ultimately compromising the quality of the bread.
Professional Techniques to Achieve Perfect Soft Bread
To avoid dense bread, focus on maintaining proper dough hydration. Add flour gradually and stop once the dough becomes soft and slightly sticky. This ensures enough moisture is retained to create a tender crumb after baking. Trust the process instead of forcing the dough to feel dry.
Kneading should be deliberate and consistent. Work the dough until it becomes smooth and elastic, and always test it by stretching a thin layer. This step builds the foundation for structure and softness, making it non-negotiable in professional baking.
Always use lukewarm liquids and room temperature ingredients. This creates an ideal environment for yeast activation and steady fermentation. Consistency in temperature leads to predictable and reliable results every time.
Finally, respect the proofing time. Allow the dough to rise fully until it doubles in size. Proper fermentation enhances both texture and flavor, ensuring your bread remains soft, airy, and bakery-quality.
Ingredients You’ll Need
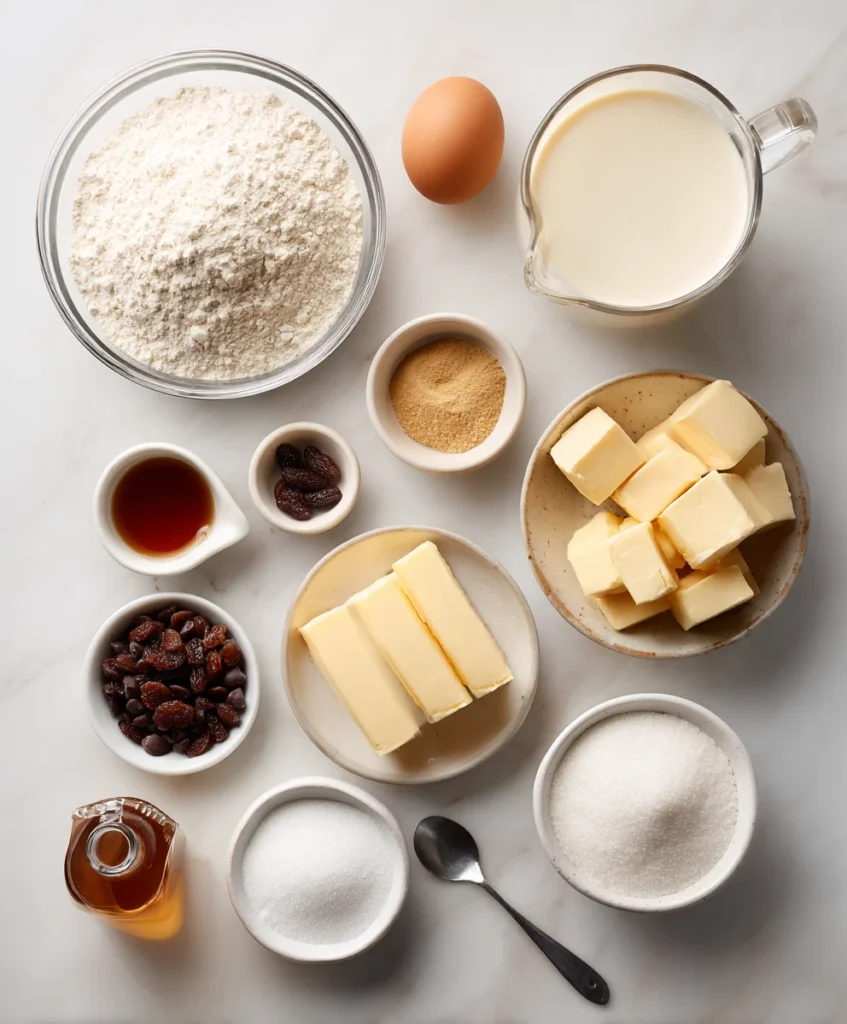
Base Ingredients:
- All-purpose flour
- Sweetened condensed milk
- Warm milk
- Instant yeast
- Sugar
- Unsalted butter
- Egg
- Salt
Optional Add-ins:
- Vanilla extract
- Honey
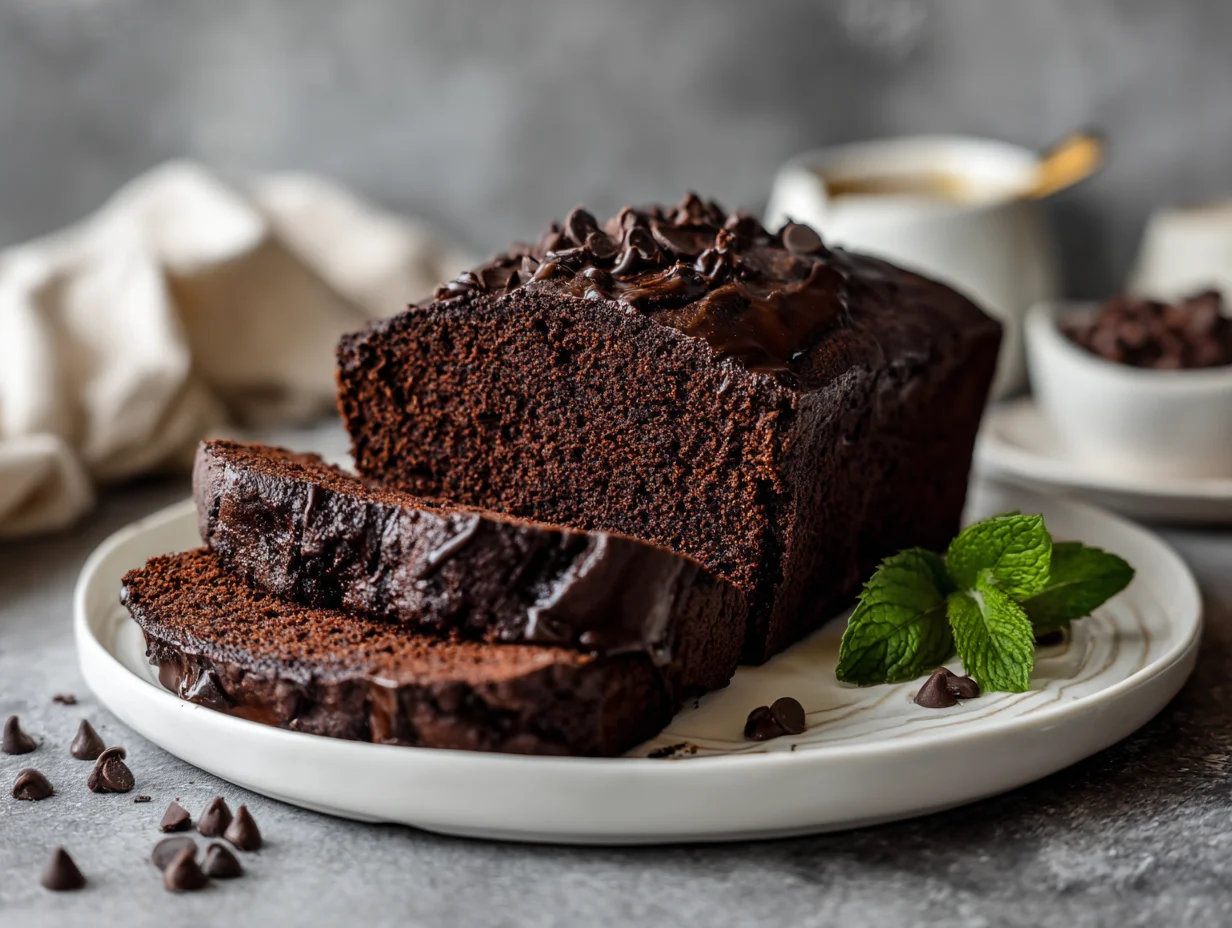
- Chocolate chips
- Raisins
- Sesame seeds or milk glaze
Step-by-Step Instructions
Step 1: Activate the Yeast
Combine warm milk and sugar, then sprinkle yeast over the surface. Let it rest until frothy and active. This step ensures fermentation begins correctly and prevents failed dough later in the process. Always verify yeast activity before proceeding to maintain consistency in your bread’s rise and texture.
This stage sets the tone for the entire recipe. Proper activation guarantees that the dough will rise evenly and develop the airy structure essential for soft condensed milk bread.
Step 2: Mix the Dough
In a mixing bowl, combine flour, condensed milk, egg, salt, and activated yeast mixture. Mix until a rough dough forms, then incorporate softened butter gradually. Continue mixing until the dough becomes cohesive and slightly sticky. Avoid overloading with flour at this stage.
The goal is to create a balanced dough where richness and hydration work together. Proper mixing ensures even distribution of ingredients, which directly impacts flavor and texture in the final bread.
Step 3: Knead Thoroughly
Transfer the dough to a clean surface and knead for about 10–12 minutes until smooth and elastic. Use consistent pressure and folding motions to develop gluten. The dough should stretch without tearing when properly kneaded.
This process builds structure and allows the dough to trap air during proofing. Skipping or shortening this step results in dense bread, making thorough kneading essential for professional-quality softness.
Step 4: First Proofing
Place the dough in a greased bowl, cover, and let it rise in a warm environment until doubled in size. This usually takes around one to one and a half hours depending on temperature. Avoid disturbing the dough during this stage.
Proper proofing allows the yeast to develop flavor and expand the dough. This step is critical for achieving a light, airy crumb and balanced taste in condensed milk bread.
Step 5: Shape and Second Proof
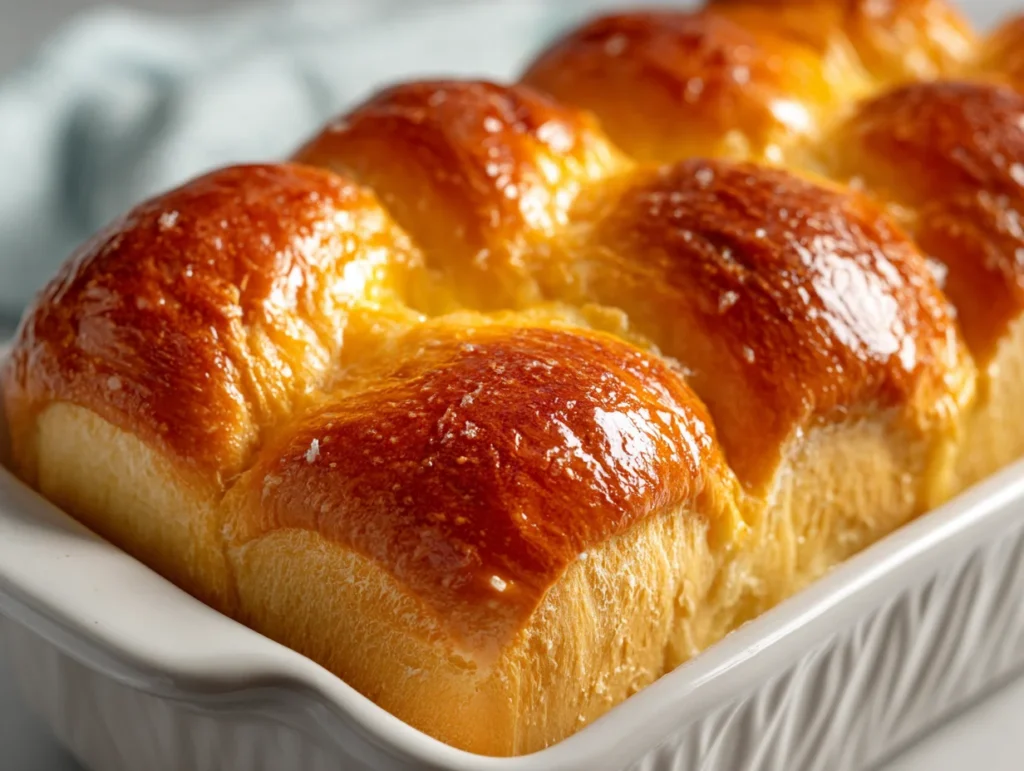
Gently deflate the dough, divide it into portions, and shape as desired. Arrange in a baking pan and allow a second rise until puffy. This step ensures uniform structure and softness.
Careful shaping and proper spacing allow the dough to expand evenly, contributing to both visual appeal and consistent baking results.
Step 6: Bake to Perfection
Bake in a preheated oven until golden brown. Brush with milk or butter for a glossy finish. Allow the bread to cool slightly before serving to lock in moisture and flavor.
This final stage defines the bread’s texture and appearance. Proper baking ensures a soft interior with a lightly golden crust, completing the perfect condensed milk bread.
Cook Time
Total: 2 hours 30 minutes
Prep: 2 hours
Bake: 25–30 minutes
Servings
This recipe is designed to provide a balanced yield suitable for both small families and casual gatherings. The dough can be shaped into a classic loaf or divided into individual rolls, offering flexibility depending on your serving needs.
Each portion delivers a soft, rich texture with a subtle sweetness that pairs well with both sweet and savory accompaniments. This makes it ideal for breakfast, snacks, or even light desserts.
The consistency of this recipe ensures that every serving maintains the same high-quality texture and flavor, making it reliable for repeated use.
Makes approximately 1 loaf or 9–10 rolls
Nutritional Information (approx. per serving)
- Calories: 220–260 kcal
- Carbohydrates: 32g
- Protein: 5g
- Fat: 9g
- Sugar: 11g
- Fiber: 1g
This bread provides a steady source of energy due to its balanced carbohydrate content, making it suitable for starting the day or sustaining energy levels between meals.
The inclusion of milk and eggs contributes essential proteins, supporting muscle health and overall nutrition. Despite its richness, it remains moderate in fat when consumed in controlled portions.
Its soft texture also makes it easy to digest, and when paired with nutritious toppings, it can become part of a well-rounded diet.
Storage Instructions
Allow the bread to cool completely before storing to prevent condensation, which can affect texture. Warm bread trapped in containers often becomes soggy and loses its softness quickly.
Store the bread in an airtight container at room temperature for up to two days. This helps maintain moisture while preserving the delicate crumb structure.
For extended storage, refrigerate the bread, ensuring it is tightly wrapped. Although refrigeration may slightly firm the texture, reheating restores its softness effectively.
Freezing is ideal for long-term storage. Slice the bread before freezing and store in sealed bags. This allows convenient use while maintaining freshness and quality.
Suggestions
Use high-quality condensed milk and butter to enhance flavor, as these ingredients define the richness of the bread. Premium ingredients always produce noticeably better results.
Experiment with fillings such as chocolate or dried fruits to create variety. These additions can transform a simple loaf into a more indulgent treat suitable for special occasions.
Serve the bread warm with butter, jam, or even savory spreads. The contrast in flavors elevates the overall experience and makes it more versatile.
Avoid overbaking, as this can dry out the bread. Monitoring baking time carefully ensures the perfect balance between a golden crust and soft interior.
Seasonal Relevance
In colder months, this bread serves as a comforting, warm treat that pairs beautifully with tea or coffee. Its richness provides a satisfying experience during chilly weather.
During warmer seasons, it can be enjoyed with lighter accompaniments such as fresh fruits or chilled spreads, making it adaptable to changing preferences.
Festive occasions benefit from this recipe as it can be shaped creatively and presented attractively, adding a homemade touch to celebrations.
Its versatility ensures it remains relevant year-round, offering consistent enjoyment regardless of season or occasion.
Finl Words
Soft condensed milk bread is more than just a recipe—it is a demonstration of technique, patience, and attention to detail. Mastering it elevates your baking skills significantly.
Every step, from kneading to proofing, plays a vital role in achieving the perfect texture. Skipping or rushing any stage compromises the final result.
With practice, this recipe becomes intuitive, allowing you to adapt and refine it according to your preferences and environment.
Ultimately, this bread represents the balance of simplicity and excellence, delivering professional-quality results in a home kitchen setting.

Soft Condensed Milk Bread Recipe
9
servings2
hours25
minutes220
kcalSoft condensed milk bread is a rich, fluffy, and slightly sweet homemade bread with a tender crumb. Perfect for breakfast or snacks, this bakery-style loaf delivers a melt-in-your-mouth texture using simple ingredients and professional baking techniques.
Ingredients
3 cups all-purpose flour
½ cup sweetened condensed milk
½ cup warm milk
2 ¼ teaspoons instant yeast
2 tablespoons sugar
¼ cup unsalted butter (softened)
1 egg
½ teaspoon salt
Optional: vanilla extract, raisins, chocolate chips
Directions
- Activate yeast in warm milk with sugar until frothy.
- Mix flour, condensed milk, egg, salt, and yeast mixture to form dough.
- Add butter and knead until smooth and elastic.
- Let dough rise until doubled in size.
- Shape into rolls or loaf and allow second rise.
- Bake in preheated oven until golden brown.
- Brush with butter and cool slightly before serving.
Recipe Video
Notes
- Do not add excess flour; slightly sticky dough ensures softness.
- Knead thoroughly for proper gluten development.
- Use lukewarm liquids to avoid killing yeast.
- Avoid overbaking to maintain a soft texture.
Frequently Asked Questions
Can I prepare the dough overnight for baking the next day?
Yes, you can refrigerate the dough after the first proof. This slows fermentation and enhances flavor. Before baking, allow the dough to come to room temperature and complete the second proof for best texture and rise.
What type of yeast works best for this recipe?
Instant yeast is preferred for convenience and consistent results. However, active dry yeast can also be used if properly activated in warm liquid before mixing with other ingredients. Both can yield excellent results when handled correctly.
Why does my bread crust turn too hard?
A hard crust usually results from overbaking or lack of moisture. Brushing the bread with milk or butter before and after baking helps maintain softness and prevents the crust from becoming overly firm.